Vietnamese Peanut Sauce (Easy Dipping Sauce for Spring Rolls)
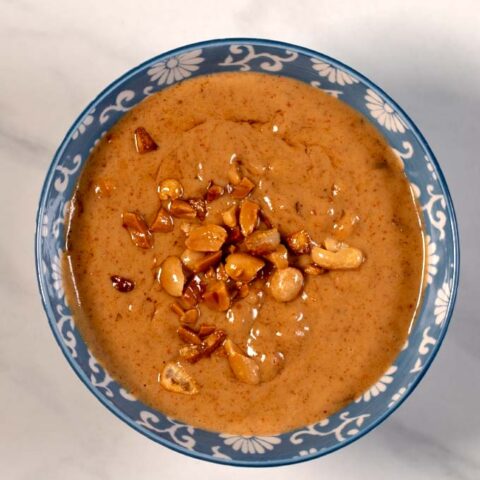
This Vietnamese peanut sauce is made the traditional way: fresh garlic and chopped peanuts fried until golden, then blended into a rich, nutty dipping sauce. No hoisin needed. Ready in 10 minutes and endlessly versatile.
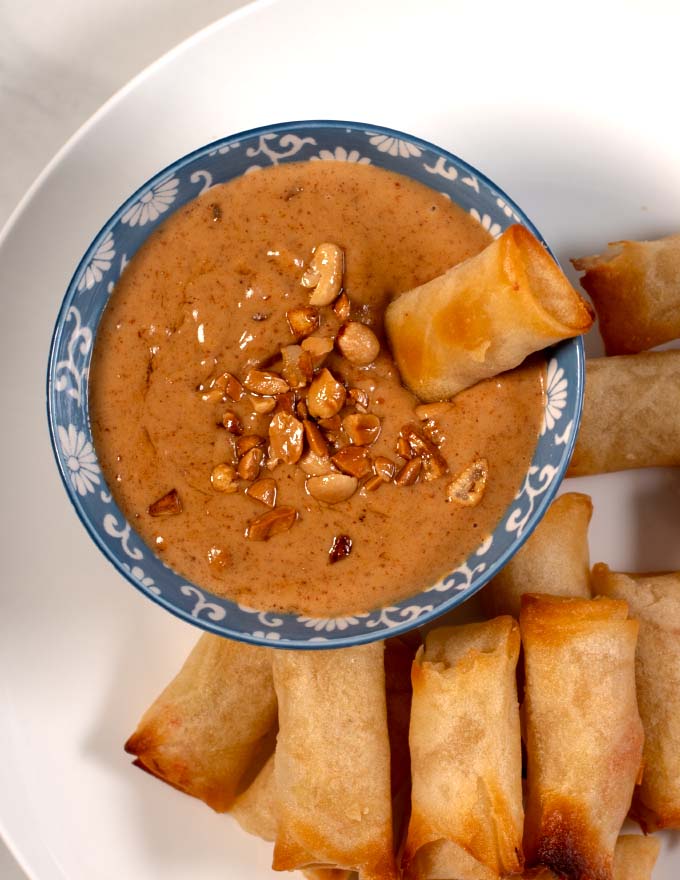
Why this recipe is different
Most Vietnamese peanut sauce recipes start with hoisin sauce and a jar of peanut butter, whisked together with water. That version is quick, and it works - but it tastes more like a condiment than a sauce.
This recipe takes a different approach. Chopped peanuts and fresh garlic go into a hot pan first, frying until golden and fragrant before anything else is added. That step builds a toasty, roasted depth that you simply can't get from whisking cold ingredients together. The result is a sauce that tastes like it came from a Vietnamese restaurant kitchen, not a bottle.
It also skips the hoisin entirely, which means the flavor stays cleaner and the sauce is naturally gluten-free if you use tamari instead of soy sauce.
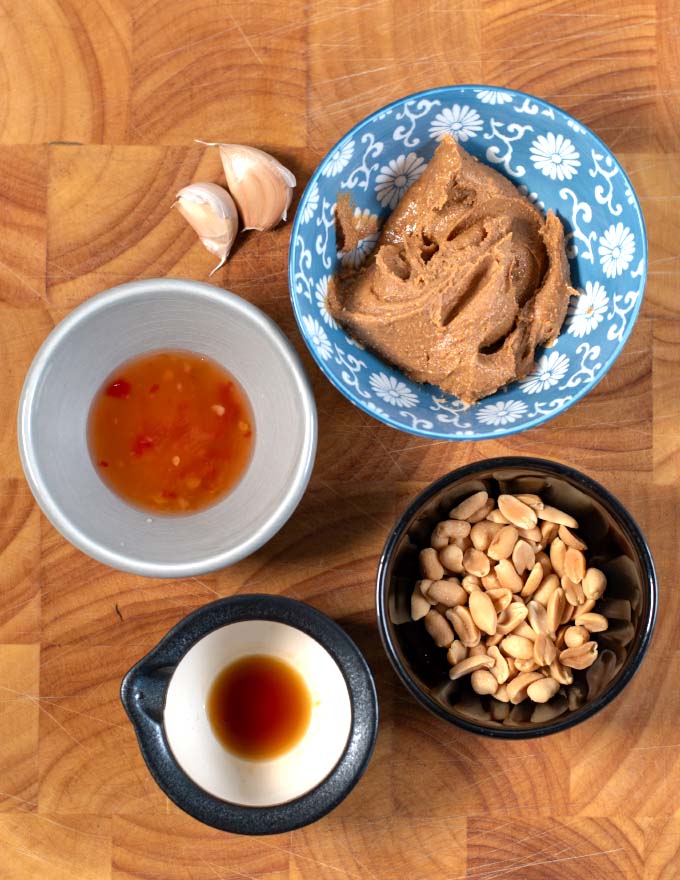
Ingredients
You need just eight ingredients:
- Creamy peanut butter - the base of the sauce. Natural or commercial both work; if using natural peanut butter, stir it well first so the oils are fully incorporated.
- Fresh garlic - three cloves, chopped. This is what you fry first. Don't substitute garlic powder here - the fried garlic is the point.
- Vegetable oil - for frying the peanuts and garlic.
- Soy sauce - adds the savory, umami backbone. Tamari works for a gluten-free version.
- Chili sauce - for heat and a touch of tang. Sriracha, sambal oelek, or any Vietnamese chili sauce all work.
- Warm water - loosens the sauce to the right consistency. Use warm rather than cold water to prevent the peanut butter from seizing.
- Roasted peanuts - chopped, for texture and garnish. The reserved peanut-garlic mixture from the pan goes on top.
- Salt and pepper - to finish.
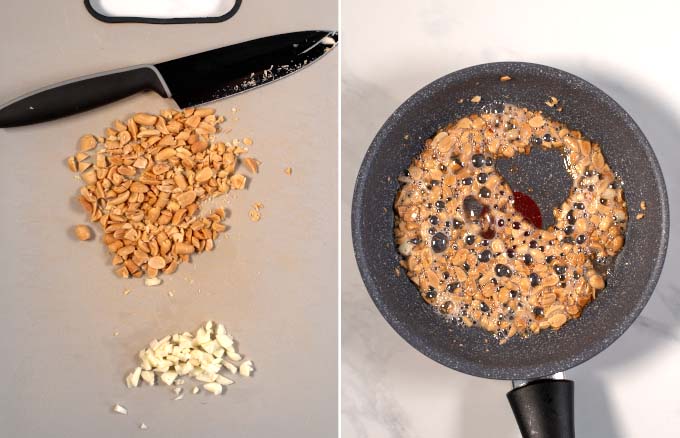
How To Make Vietnamese Peanut Sauce
The whole process takes about 10 minutes from start to finish.
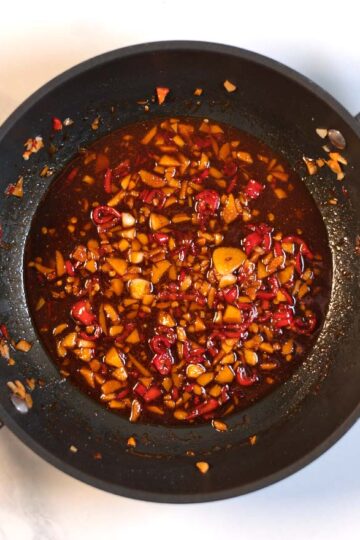
Chop the peanuts and garlic into roughly the same size pieces - you want them to fry evenly. Heat the oil in a small saucepan over medium heat until shimmering. Add the chopped peanuts and garlic together and fry, stirring constantly, for about 4 minutes until both turn lightly golden. Watch the heat - garlic can go from golden to bitter quickly.
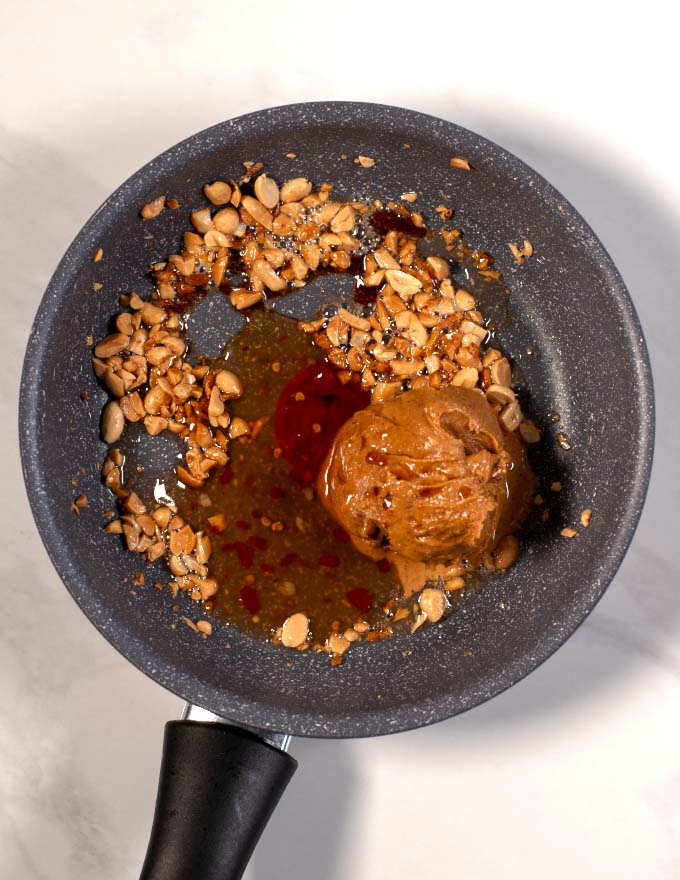
Remove the pan from the heat and spoon out about one tablespoon of the peanut-garlic mixture and set it aside. This becomes your garnish. To the remaining mixture in the pan, add the peanut butter, soy sauce, and chili sauce. Stir everything together until well combined - the residual heat will help the peanut butter melt in smoothly.
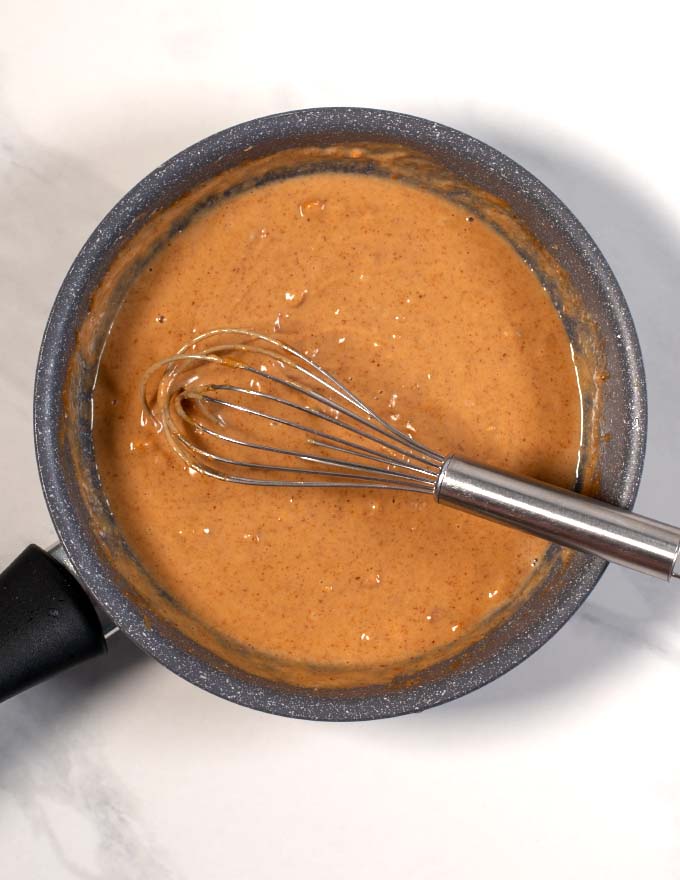
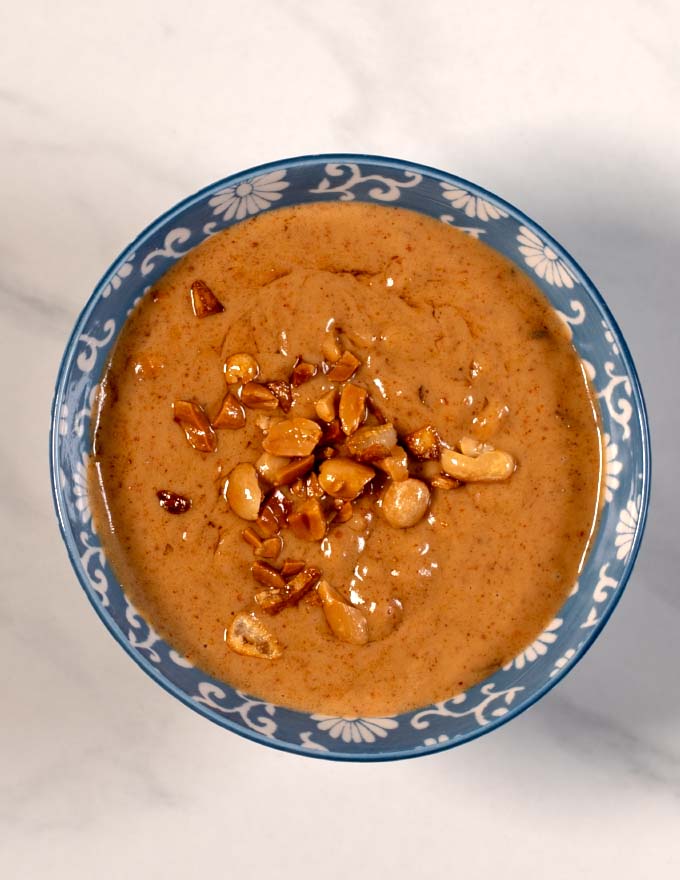
Whisk in the warm water a little at a time until you reach the consistency you want. The sauce thickens as it cools, so make it slightly looser than you think you need. Transfer to a serving bowl and top with the reserved peanut-garlic mixture.
What to serve it with
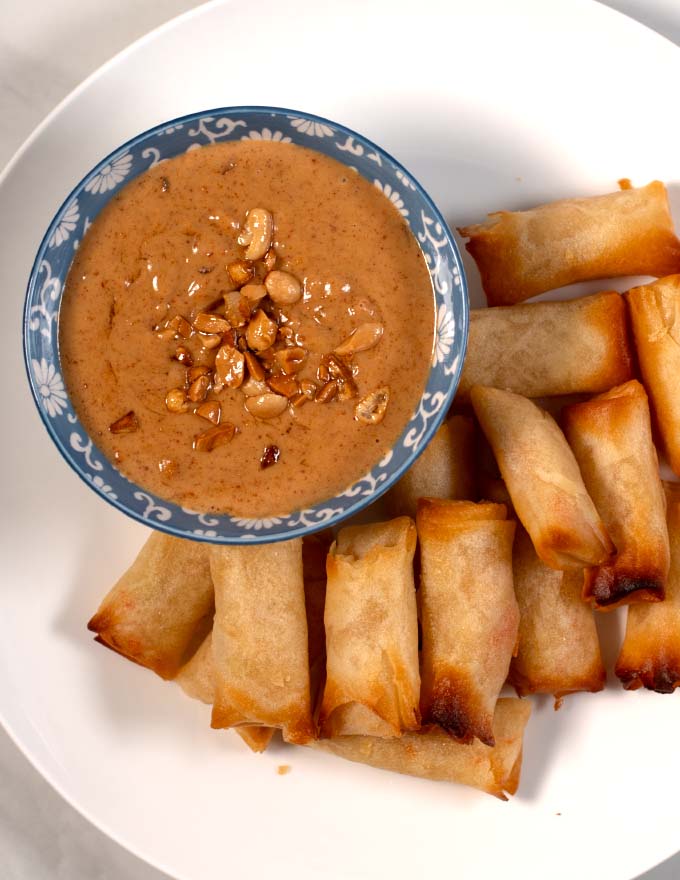
Vietnamese peanut sauce is most at home as a dipping sauce for fresh spring rolls - the creamy, nutty richness is exactly what those light rice paper rolls need. But it works well beyond that:
- Noodle bowls - drizzle over vermicelli or rice noodles with fresh herbs and vegetables
- Grilled tofu or tempeh - use as a dipping sauce or thin slightly and use as a marinade
- Raw and steamed vegetables - cucumber, carrot, sugar snap peas, broccoli florets
- Lettuce wraps - spoon into the wrap before rolling
- Grain bowls - thin with a little extra water and use as a dressing over rice or quinoa
- Noodle salads - toss with cold noodles, shredded cabbage, and herbs
Tips for the best results
Use warm water, not cold. Cold water causes peanut butter to seize and go lumpy rather than emulsifying smoothly. If your sauce does go grainy, a splash of warm water and vigorous stirring will fix it.
Don't skip the frying step. It's tempting to just whisk everything together cold, and you can - but frying the peanuts and garlic for those 4 minutes is what makes this sauce distinctive. The toasty, roasted flavor it develops is worth the extra step.
Taste and adjust before serving. The balance between savory (soy sauce), heat (chili sauce), and richness (peanut butter) is personal. Add more soy for saltiness, more chili for heat, or a squeeze of lime juice if you want brightness.
Make it ahead. The sauce keeps well and the flavors deepen overnight. If it thickens in the fridge, whisk in a little warm water to loosen it before serving.
Variations
Hoisin version: Swap the soy sauce for an equal amount of hoisin sauce for a sweeter, more traditional flavor. This is the most common approach in Vietnamese restaurants.
Coconut peanut sauce: Replace half the water with coconut milk for a creamier, slightly tropical version that's excellent over noodles.
Spicier sauce: Add an extra teaspoon of chili sauce, or stir in a small amount of chili oil at the end.
Ginger-lime: Add half a teaspoon of freshly grated ginger and a squeeze of lime juice for a brighter, more aromatic version.
No-cook version: Skip the frying step and whisk everything together cold - it's faster and still delicious, just less complex in flavor.
Storage and leftovers
Store in a sealed container in the refrigerator for up to 5 days. The sauce thickens considerably as it chills - bring it back to room temperature and stir in warm water a teaspoon at a time until it loosens to the right consistency.
This sauce also freezes well in small portions for up to 2 months. Defrost in the refrigerator overnight and stir well before using.
Frequently Asked Questions
Yes - whisk everything together cold for a quicker version. The flavor will be good but less complex. The fried garlic step is what gives this sauce its depth, so skip it only if you're short on time.
Vietnamese peanut sauce (tương đậu phộng) is typically simpler and cleaner - lighter on spice and often served as a pure dipping sauce for spring rolls. Thai peanut sauce usually incorporates coconut milk, lime juice, and red curry paste for a richer, more complex flavor. We have a Thai peanut sauce recipe if you want to compare.
It's naturally vegan. For gluten-free, swap the soy sauce for tamari or coconut aminos in equal amounts.
Yes. Natural peanut butter works well - just make sure it's fully stirred before measuring so the oils are incorporated. The sauce may be slightly less thick, so add a touch less water to compensate.
This usually happens when cold water is added too fast. Add a splash of warm water and whisk vigorously - it should smooth out. If it's still grainy, a brief blast with an immersion blender will fix it completely.
Whisk in warm water one teaspoon at a time until you reach a pourable consistency. A small squeeze of lime juice also helps thin it and adds brightness.
Up to 5 days in the fridge, or 2 months in the freezer
Other Dipping Sauces to try
- Easy Empanada Sauce Recipe for Dipping
- Zaalouk Recipe (Moroccan Eggplant and Tomato Dip)
- Cream Cheese Dip
- Easy Skordalia Recipe [best Greek garlic potato dip]
- Queso Dip
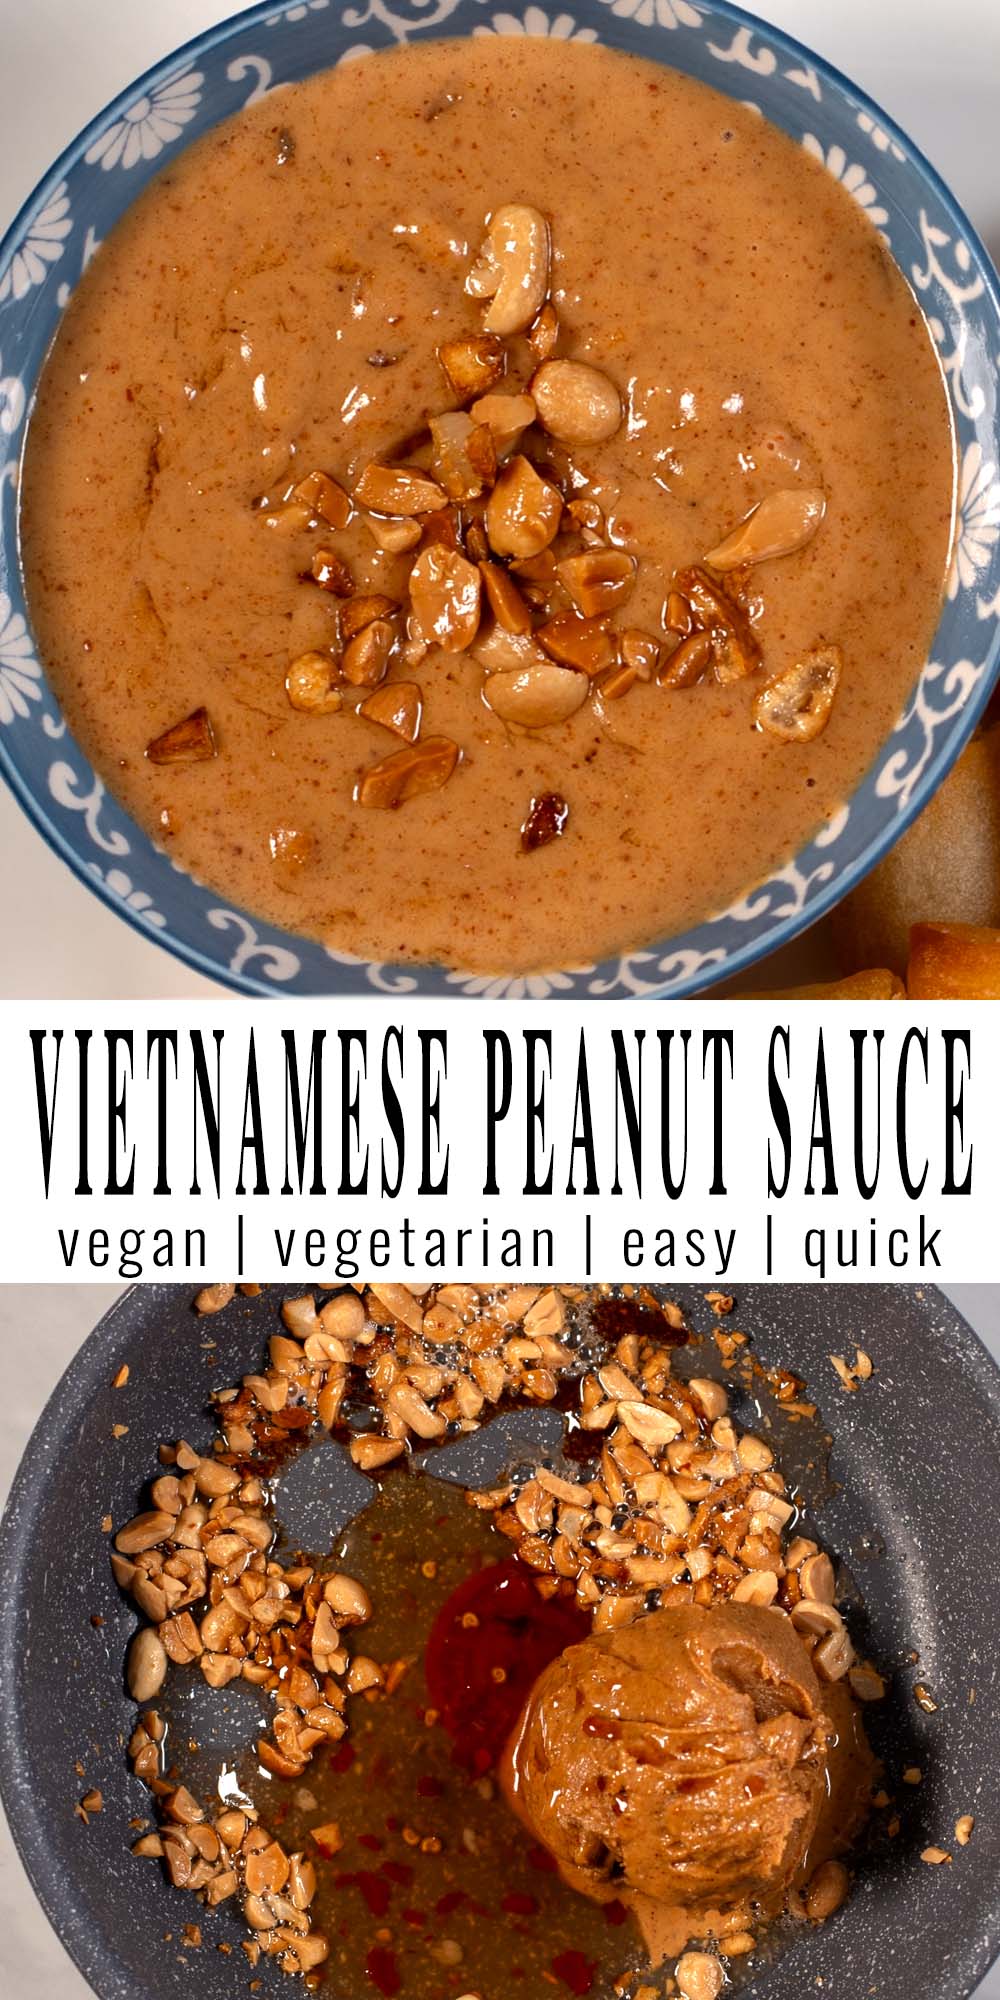
If you think that this easy Vietnamese Peanut sauce is the perfect dipping sauce, leave a comment with a star rating below and share the recipe on Instagram and Facebook.
Enjoy, Florian.
Vietnamese Peanut Sauce (Easy Dipping Sauce for Spring Rolls)
This Vietnamese peanut sauce is made the traditional way — garlic and chopped peanuts fried until golden, then combined with peanut butter and soy sauce into a rich, nutty dipping sauce. No hoisin needed. Ready in 10 minutes and perfect for spring rolls, noodle bowls, and everything in between.
Ingredients
- 3 tablespoon creamy peanut butter
- 3 cloves garlic, peeled and chopped
- 1 tablespoon vegetable oil
- 1 tablespoon soy sauce
- 2 teaspoon chili sauce
- ½ cup warm water
- 2 tablespoon peanuts, chopped
- salt, and pepper to taste
Instructions
- Chop the peanuts and garlic into roughly even-sized pieces so they fry at the same rate.
- Heat the vegetable oil in a small saucepan over medium heat until shimmering. Add the chopped peanuts and garlic together. Fry for 3–4 minutes, stirring constantly, until both turn lightly golden. Watch the heat — garlic turns bitter quickly once it starts to colour. Remove the pan from heat.
- Spoon out about 1 tablespoon of the peanut-garlic mixture and set it aside. This becomes your garnish.
- To the remaining mixture in the pan, add the peanut butter, soy sauce, and chili sauce. Stir everything together until smooth — the residual heat will help the peanut butter melt in. Season with salt and pepper.
- Whisk in the warm water a little at a time until you reach your preferred consistency. Use warm water, not cold — cold water can cause the peanut butter to seize and go grainy. The sauce thickens as it cools, so make it a touch looser than you think you need.
- Transfer to a serving bowl and top with the reserved peanut-garlic mixture. Serve immediately or refrigerate — the flavour deepens after a few hours.
Notes
- Storage: keeps in a sealed container in the fridge for up to 5 days. The sauce will thicken as it cools — stir in warm water a teaspoon at a time to loosen before serving.
- Make-ahead: this sauce improves overnight as the flavors deepen. Make it the day before for the best result.
- Gluten-free: swap soy sauce for tamari or coconut aminos in equal amounts.
- Consistency: add warm water (never cold) a teaspoon at a time to reach the thickness you want. If the sauce seizes or goes grainy, warm water and vigorous stirring will fix it.
- No-cook version: skip the frying step and whisk all ingredients together cold. Faster, slightly less complex in flavor.
- Nut butter substitutes: Almond or cashew butter work in equal amounts. Both give a slightly different but good flavour. If using cashew butter, the sauce will be noticeably creamier. Not suitable for those with tree nut allergies — for a nut-free version, sunflower seed butter is the most neutral substitute.
Nutrition Information:
Yield: 6 Serving Size: 2 tbspAmount Per Serving: Calories: 90Total Fat: 8gSaturated Fat: 1gTrans Fat: 0gUnsaturated Fat: 6gCholesterol: 0mgSodium: 273mgCarbohydrates: 4gFiber: 1gSugar: 1gProtein: 3g