High Protein Corn Dip (Vegan, No Dairy, 15 Minutes)
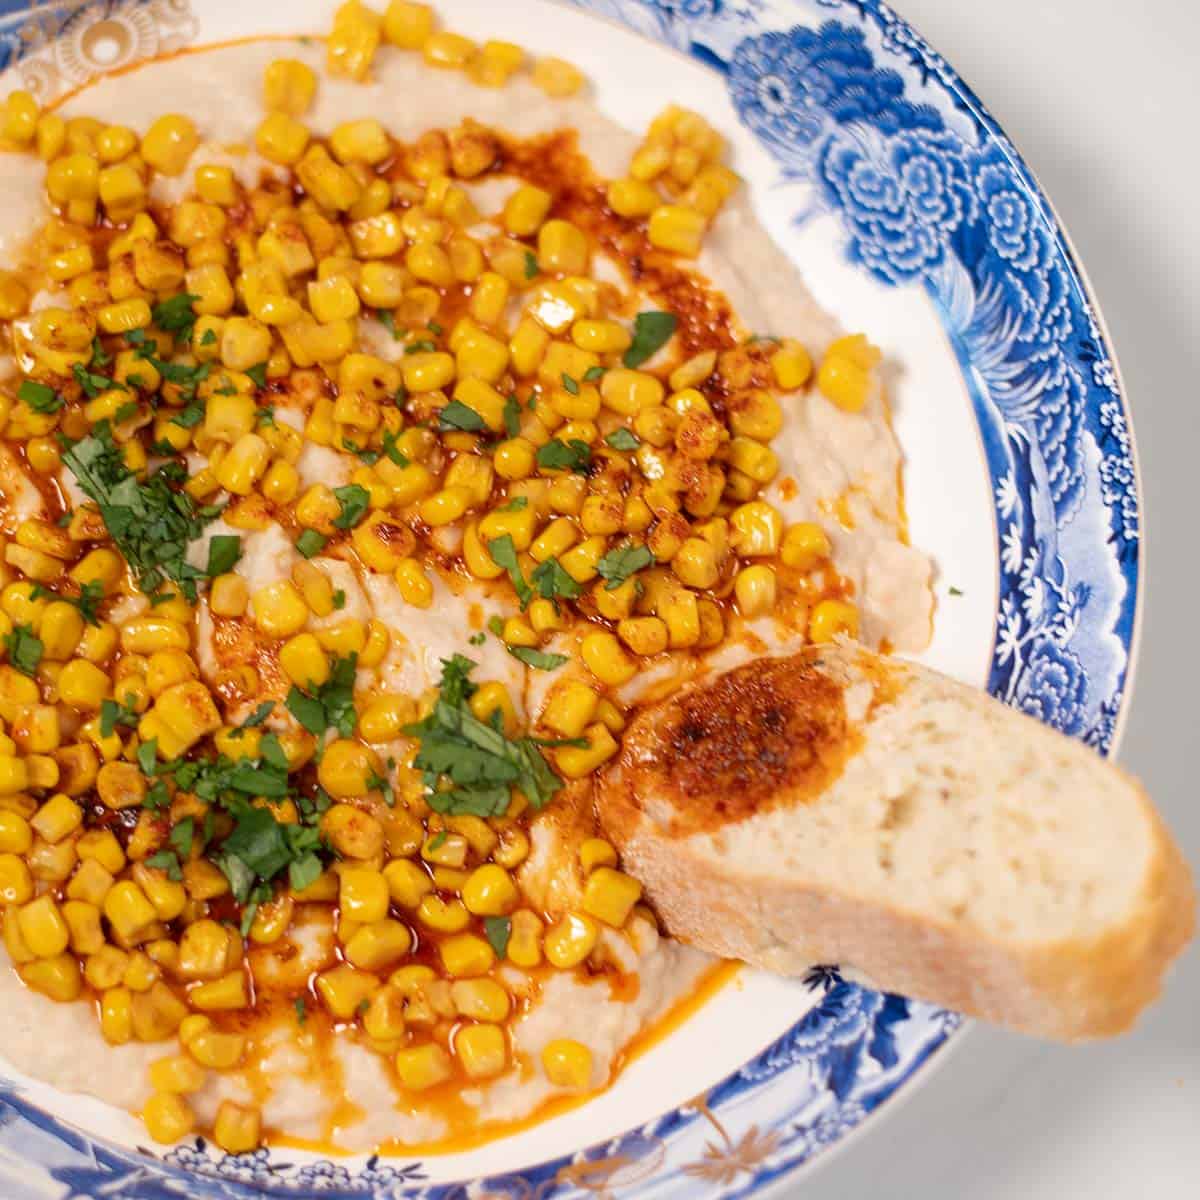
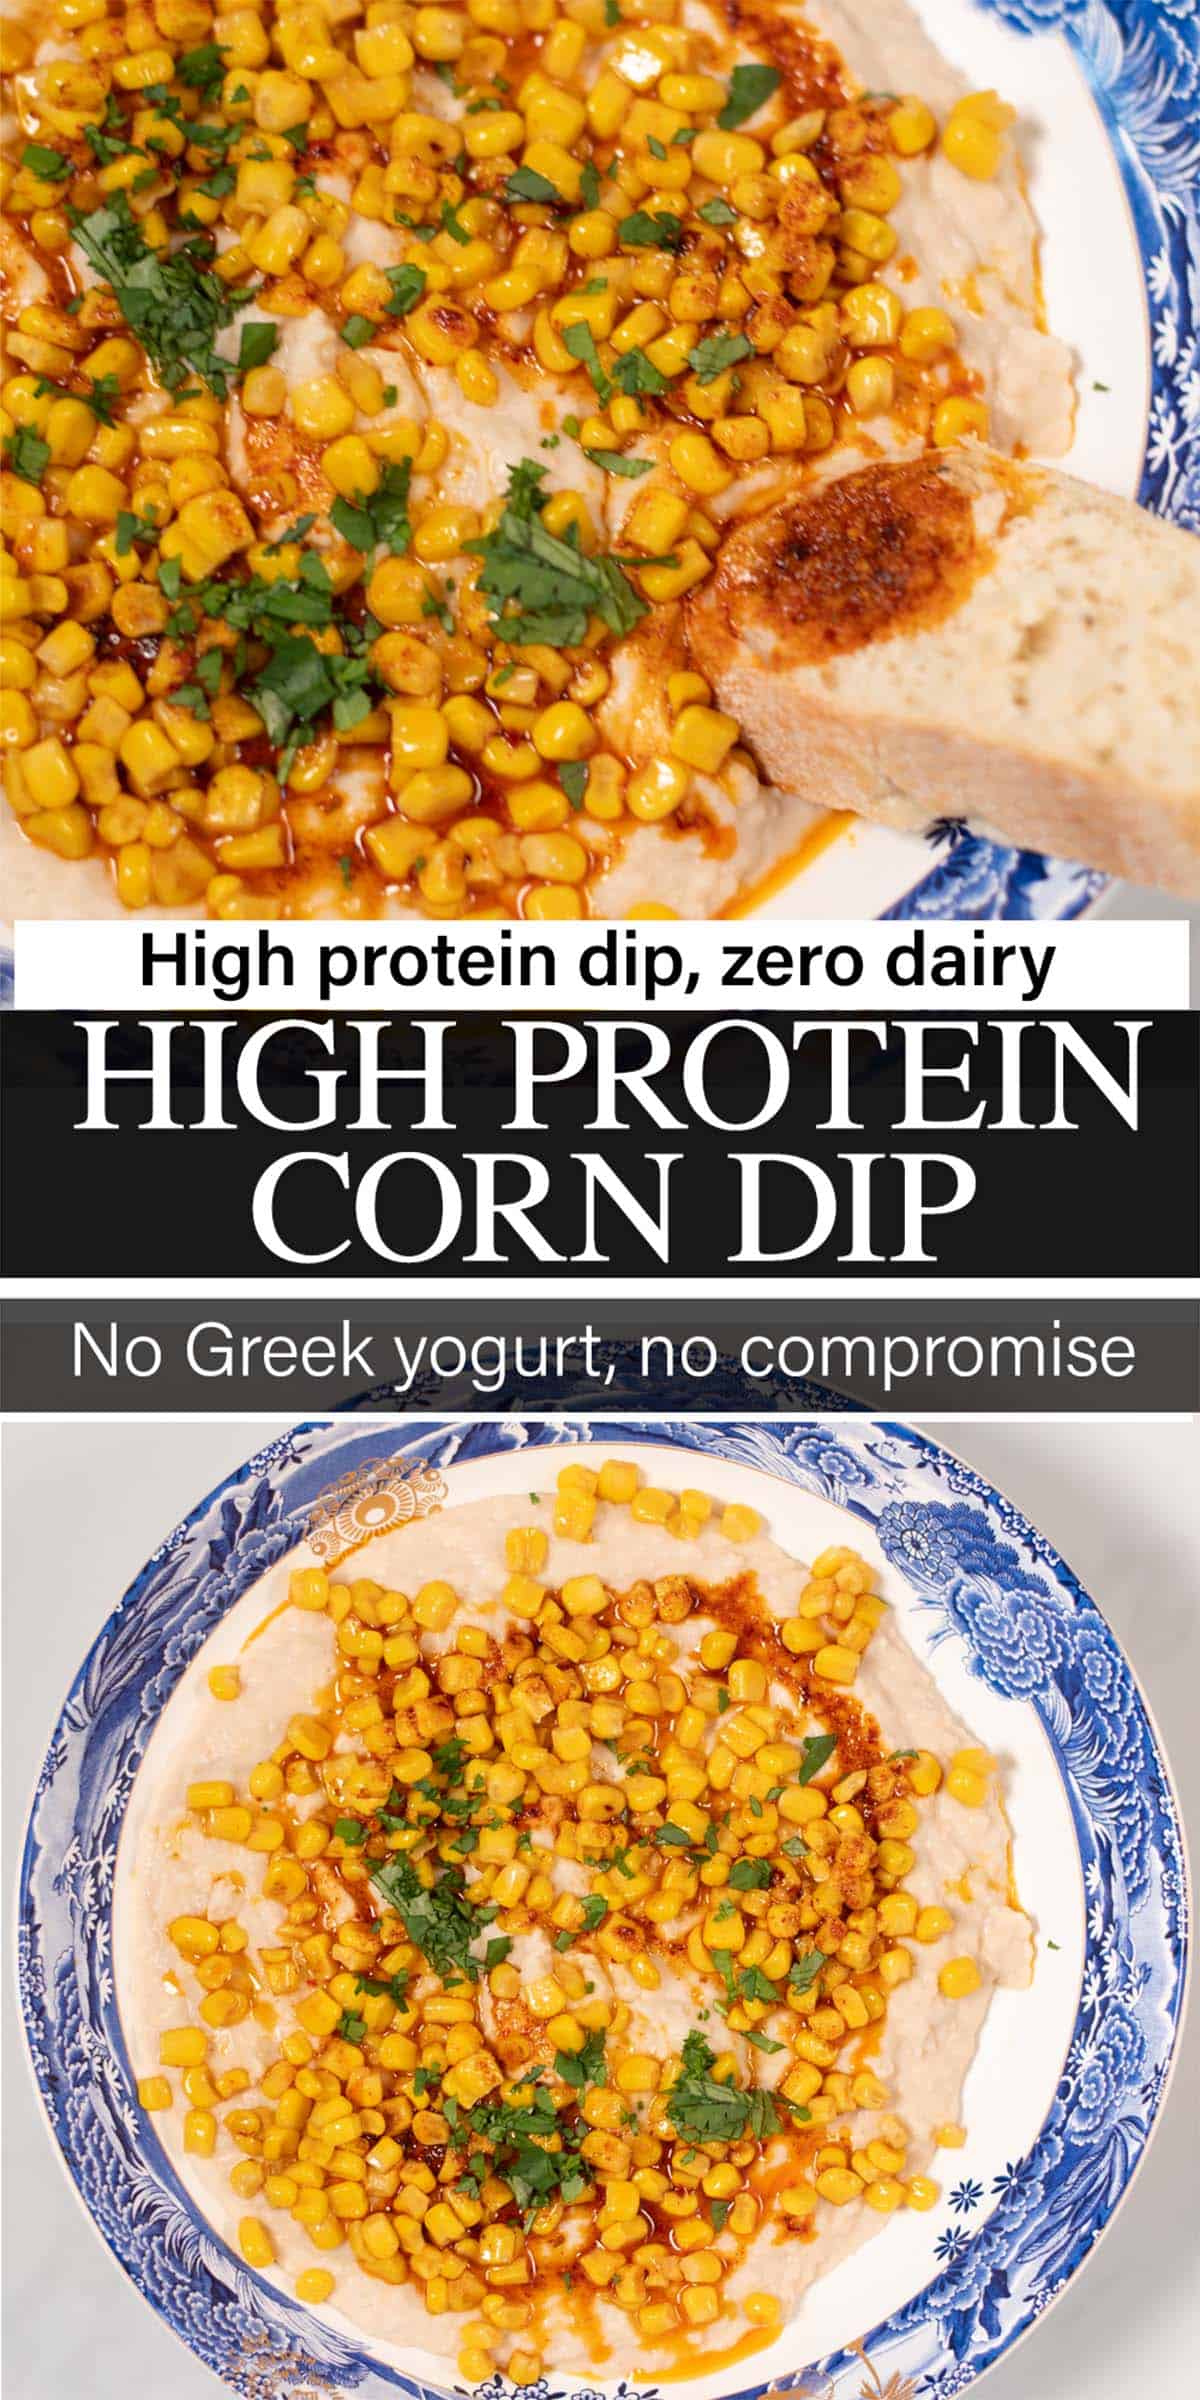
This High Protein Corn Dip is fully plant-based and uses a white bean and lemon base instead of Greek yogurt or cottage cheese - no dairy, no blending required. Pan-charred corn sits on top with a homemade smoked paprika chili oil drizzled over everything. 15 minutes, visually striking, genuinely high in plant protein.
Table of contents
What makes this corn dip different?
The high-protein corn dip category is almost entirely one recipe: Greek yogurt or cottage cheese blended with lime, chili powder, charred corn, and sometimes cotija or jalapeño. The format works well for people who eat dairy. For anyone cooking plant-based, there is currently no version in the top search results.
This recipe solves that gap with a white bean base - two cans blended with olive oil, lemon, and garlic into a smooth, protein-rich cream that is fully plant-based and requires no dairy substitute. The protein content per serving is genuine and substantial: white beans provide around 15 grams of plant protein per cup, comparable to what Greek yogurt contributes in competing recipes.
The presentation is also structurally different. Where competing recipes stir the corn and spices through the base, this version layers the components - white bean cream on the bottom, pan-charred corn on top, homemade chili oil drizzled over everything. That layered approach is more visually striking and allows each component to be tasted distinctly rather than blended into a single texture.
Why this recipe works
White beans as a protein-rich dairy-free base. Two cans of white beans blended with olive oil, lemon, and garlic produce a smooth, thick cream that is high in plant protein and indistinguishable in texture from a Greek yogurt or cottage cheese base. Cannellini or great northern beans both work - their mild, neutral flavor carries the garlic and lemon without asserting itself.
Pan-charred corn, not stirred-through corn. Cooking corn kernels in a hot skillet with olive oil until the edges are golden and blistered produces a depth of flavor that canned or boiled corn cannot provide. The slight char adds sweetness and smokiness. Placed on top rather than stirred through, the corn stays visually distinct and adds textural contrast to the smooth base.
Homemade chili oil as the finishing layer. Warming olive oil with chili flakes, smoked paprika, and garlic powder for 60 seconds releases their flavor into the oil and produces something far more interesting than a spice sprinkled dry over the surface. The chili oil is glossy, deeply colored, and aromatic - the detail that makes this dip look and taste restaurant-worthy.
Lemon instead of lime. Where Mexican street corn dips use lime for their characteristic acidity, this version uses lemon - which sits more naturally alongside the Mediterranean white bean base and the smoked paprika chili oil, giving the dip a distinctly different character from the elote-inspired category.
No blender required. The white bean base can be made smooth with a fork or potato masher if preferred over a food processor. The corn is pan-cooked, not blended. The chili oil is made in a small pan. Nothing in this recipe requires specialist equipment.
Ingredient notes
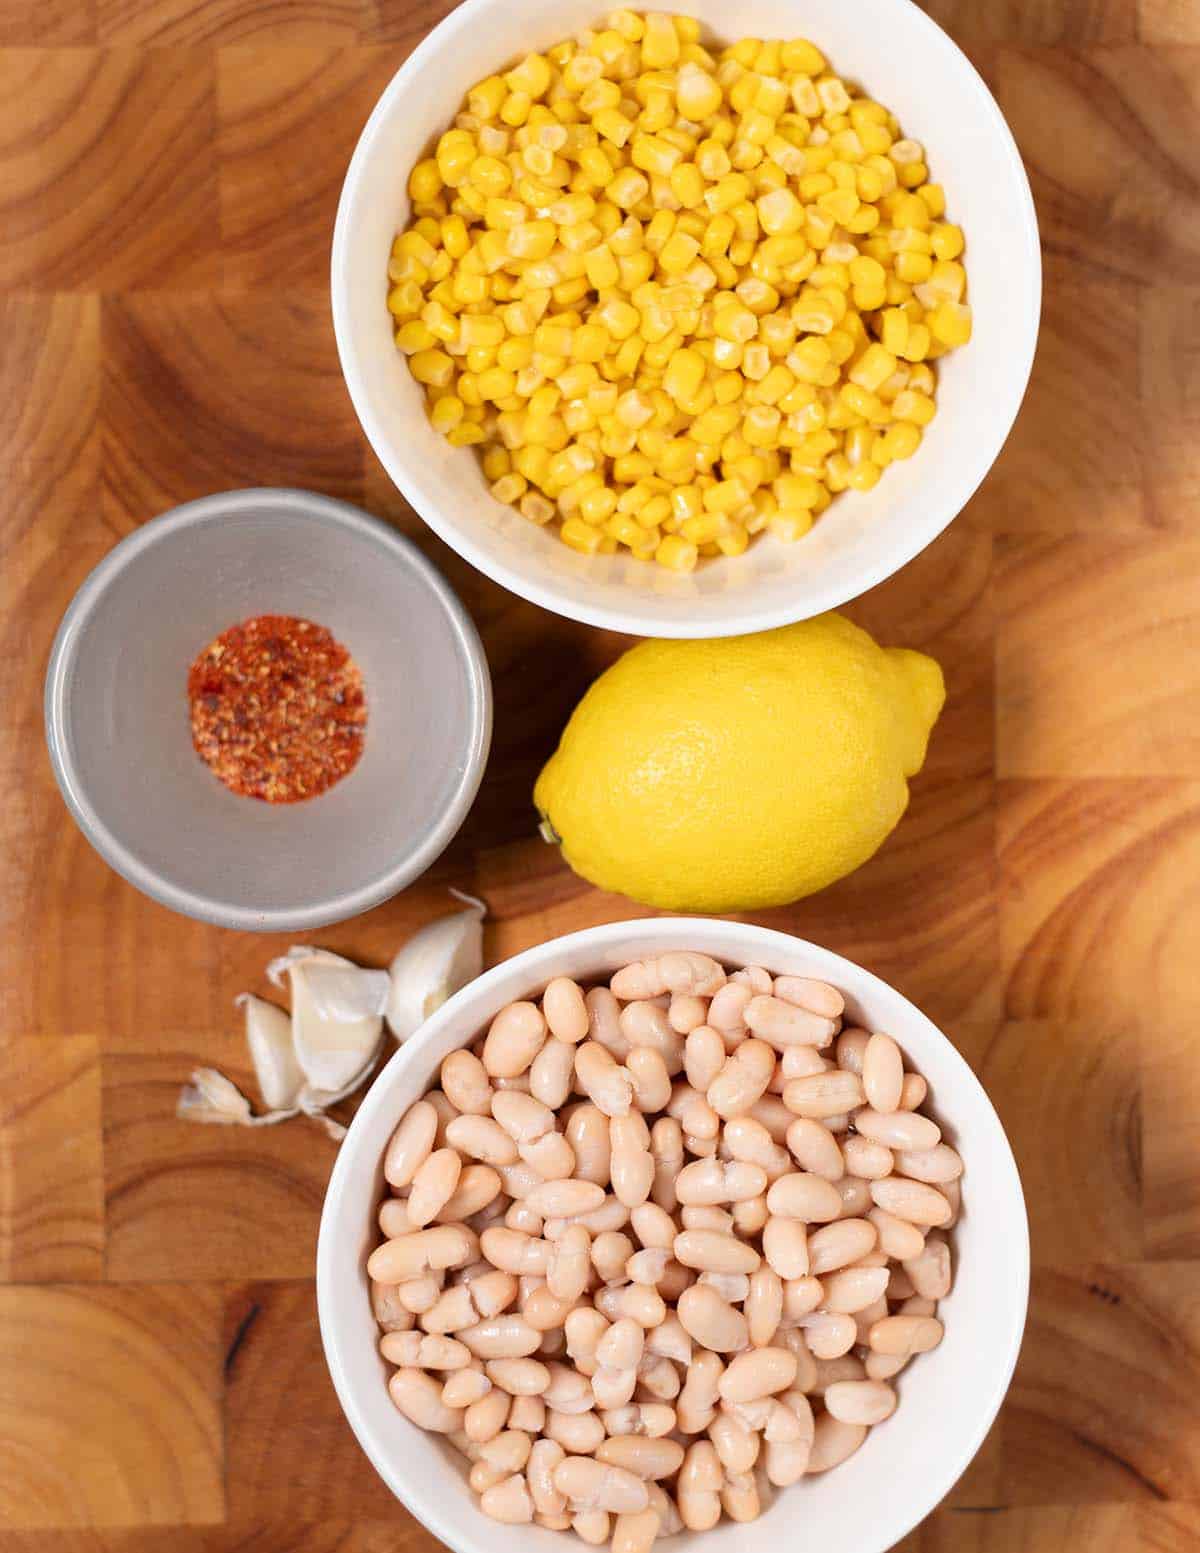
White beans - two 15 oz cans, drained and rinsed. Cannellini, great northern, or butter beans all work. Cannellini produce the smoothest, creamiest result. Drain and rinse thoroughly - the canning liquid dilutes the dressing and weakens the base.
Olive oil - a quarter cup for the base, 1 tablespoon for charring the corn, 3 tablespoons for the chili oil. Extra virgin for the base and the chili oil; regular for the corn.
Lemon - 1 whole, juiced. The acidity that balances the richness of the olive oil and white beans. Adjust to taste.
Garlic - 3 cloves, for the base. Pressed or very finely minced. Raw garlic in the base is assertive - reduce to 2 cloves for a milder result, or roast the garlic first for a sweeter, mellower flavor.
Corn kernels - three-quarters of a cup, cooked and drained. Frozen corn thawed and patted dry, or canned corn drained and patted dry. Patting dry is essential - wet corn steams in the pan rather than charring.
Chili flakes - 1 teaspoon, for the chili oil. Adjust to heat preference. Standard red chili flakes work well; Aleppo pepper flakes for a milder, fruitier result.
Smoked paprika - 2 teaspoons, for the chili oil. Use smoked, not sweet - the smokiness is what gives the chili oil its depth and color.
Garlic powder - half a teaspoon, for the chili oil. Adds background savory depth to the oil without the sharpness of raw garlic.
How to make high protein corn dip
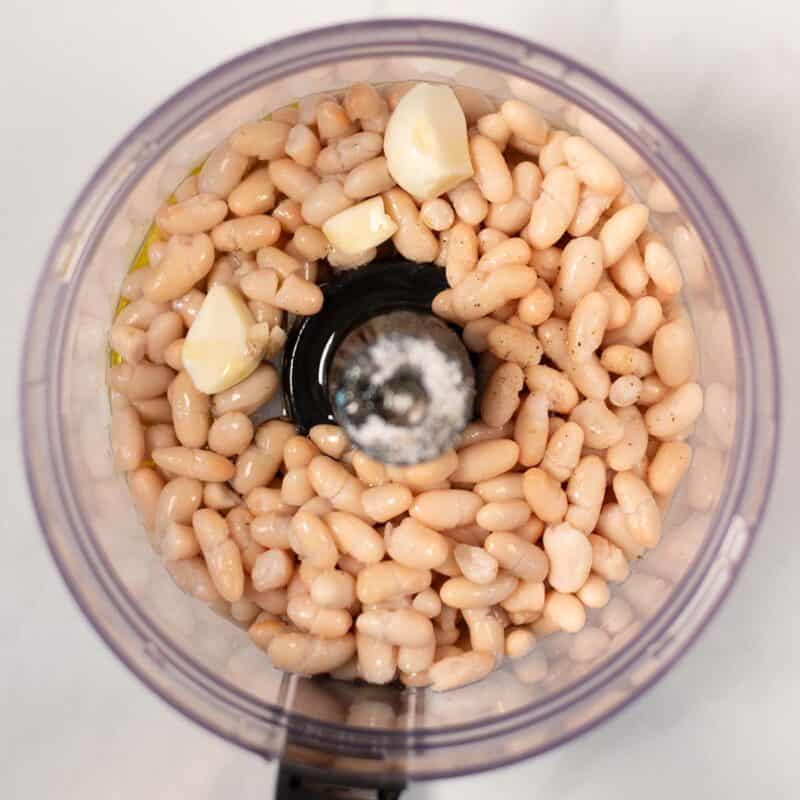
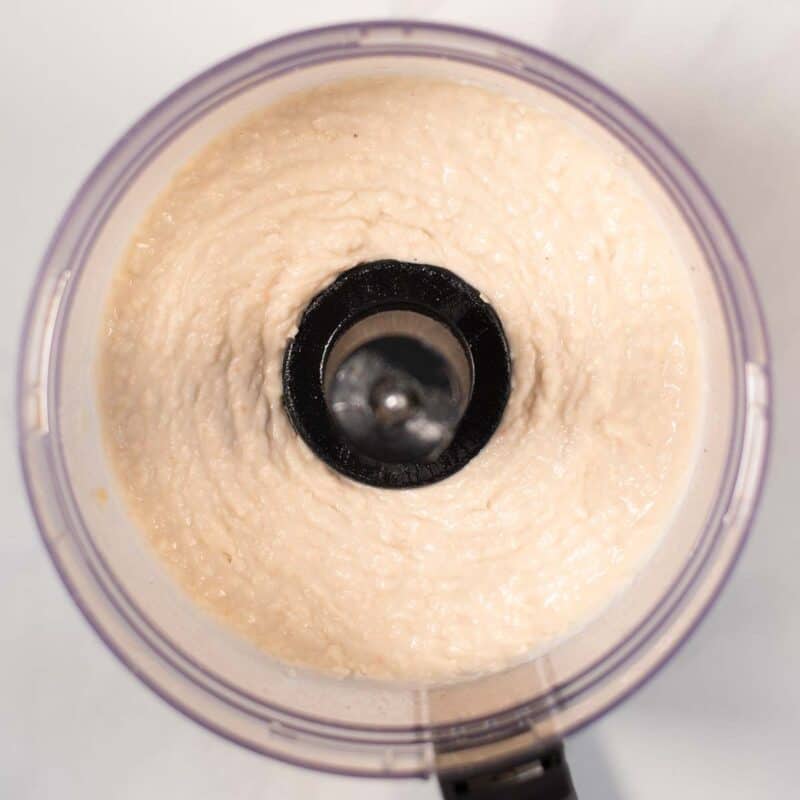
Make the white bean base first. Drain and rinse both cans of white beans thoroughly. In a food processor or using a potato masher and bowl, blend the white beans with the olive oil, lemon juice, pressed garlic, salt, and pepper until smooth and creamy. Taste and adjust seasoning - the base should be well seasoned, slightly lemony, and richly flavored on its own. Transfer to a serving bowl and spread into an even layer.
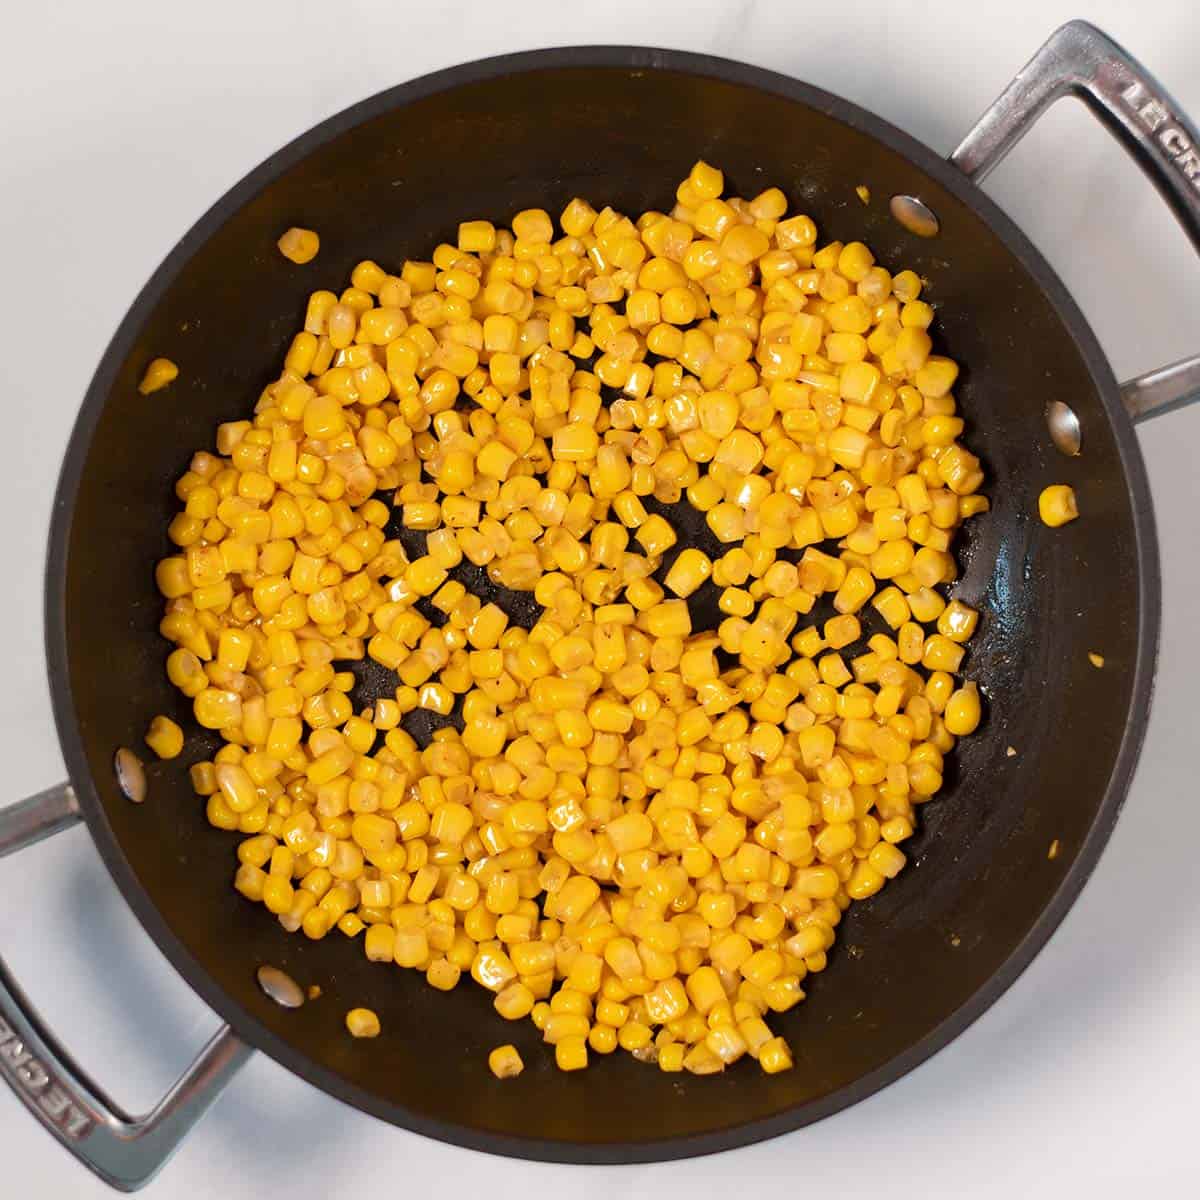
Make the charred corn. Heat 1 tablespoon of olive oil in a skillet over high heat until shimmering. Add the corn kernels in a single layer and cook without stirring for 2 minutes until the bottom layer begins to char. Stir once and cook for a further 1-2 minutes until golden and blistered at the edges. Season with salt and pepper. Remove from the heat.
Make the chili oil. In a small saucepan or skillet, combine the 3 tablespoons of olive oil with the chili flakes, smoked paprika, and garlic powder. Warm over low-medium heat for 60-90 seconds, stirring, until the oil turns deep red and fragrant. Remove immediately from the heat - the spices should bloom and sizzle gently but not burn.
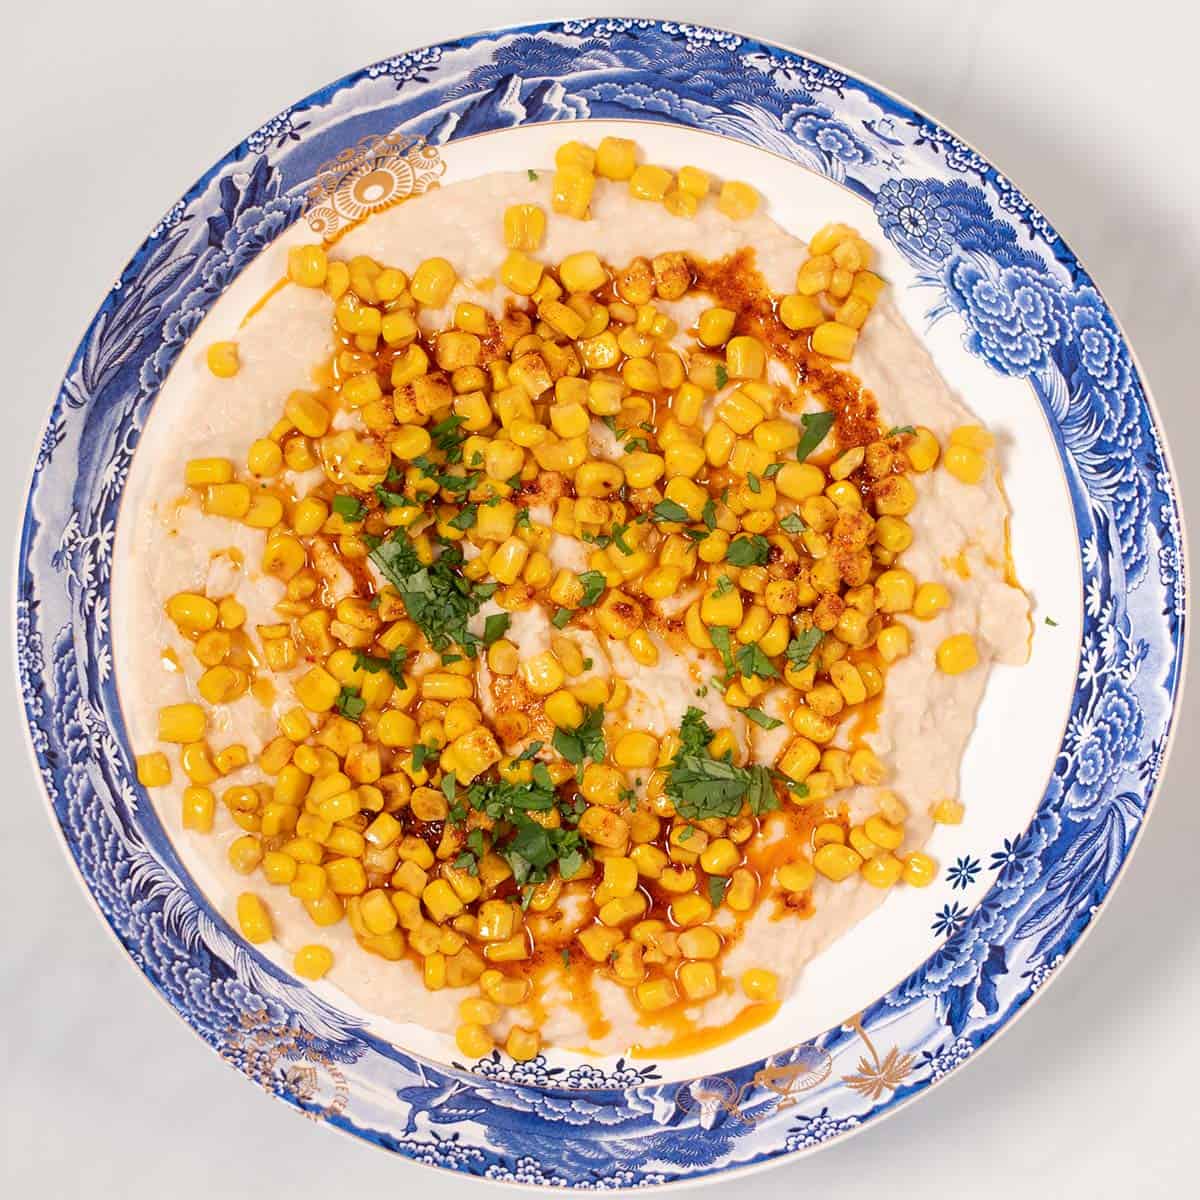
Spoon the charred corn over the white bean base. Drizzle the chili oil over everything. Serve immediately with tortilla chips, pita bread, or vegetable sticks.
The homemade chili oil
The chili oil is the component that makes this dip visually and flavor-wise distinctive from everything else in the category. It takes 90 seconds to make and the difference between a dip with homemade chili oil and one with dry spices sprinkled on top is immediately visible and immediately tasted.
The technique is simple: combine the oil and spices cold, then warm together over low heat. Warming the spices in the oil rather than adding them to hot oil gives more control - the oil comes up to temperature gradually and the spices bloom without burning. The oil is ready when it turns a deep, vivid red-orange and smells intensely of smoked paprika and chili. It should sizzle gently when the spices first hit the warm oil; it should never smoke.
The chili oil can be made ahead and stored in a small jar at room temperature for up to a week. It works on pasta, rice, roasted vegetables, dips, and anything else that needs a bold, smoky, spiced finishing drizzle.
Ways to serve
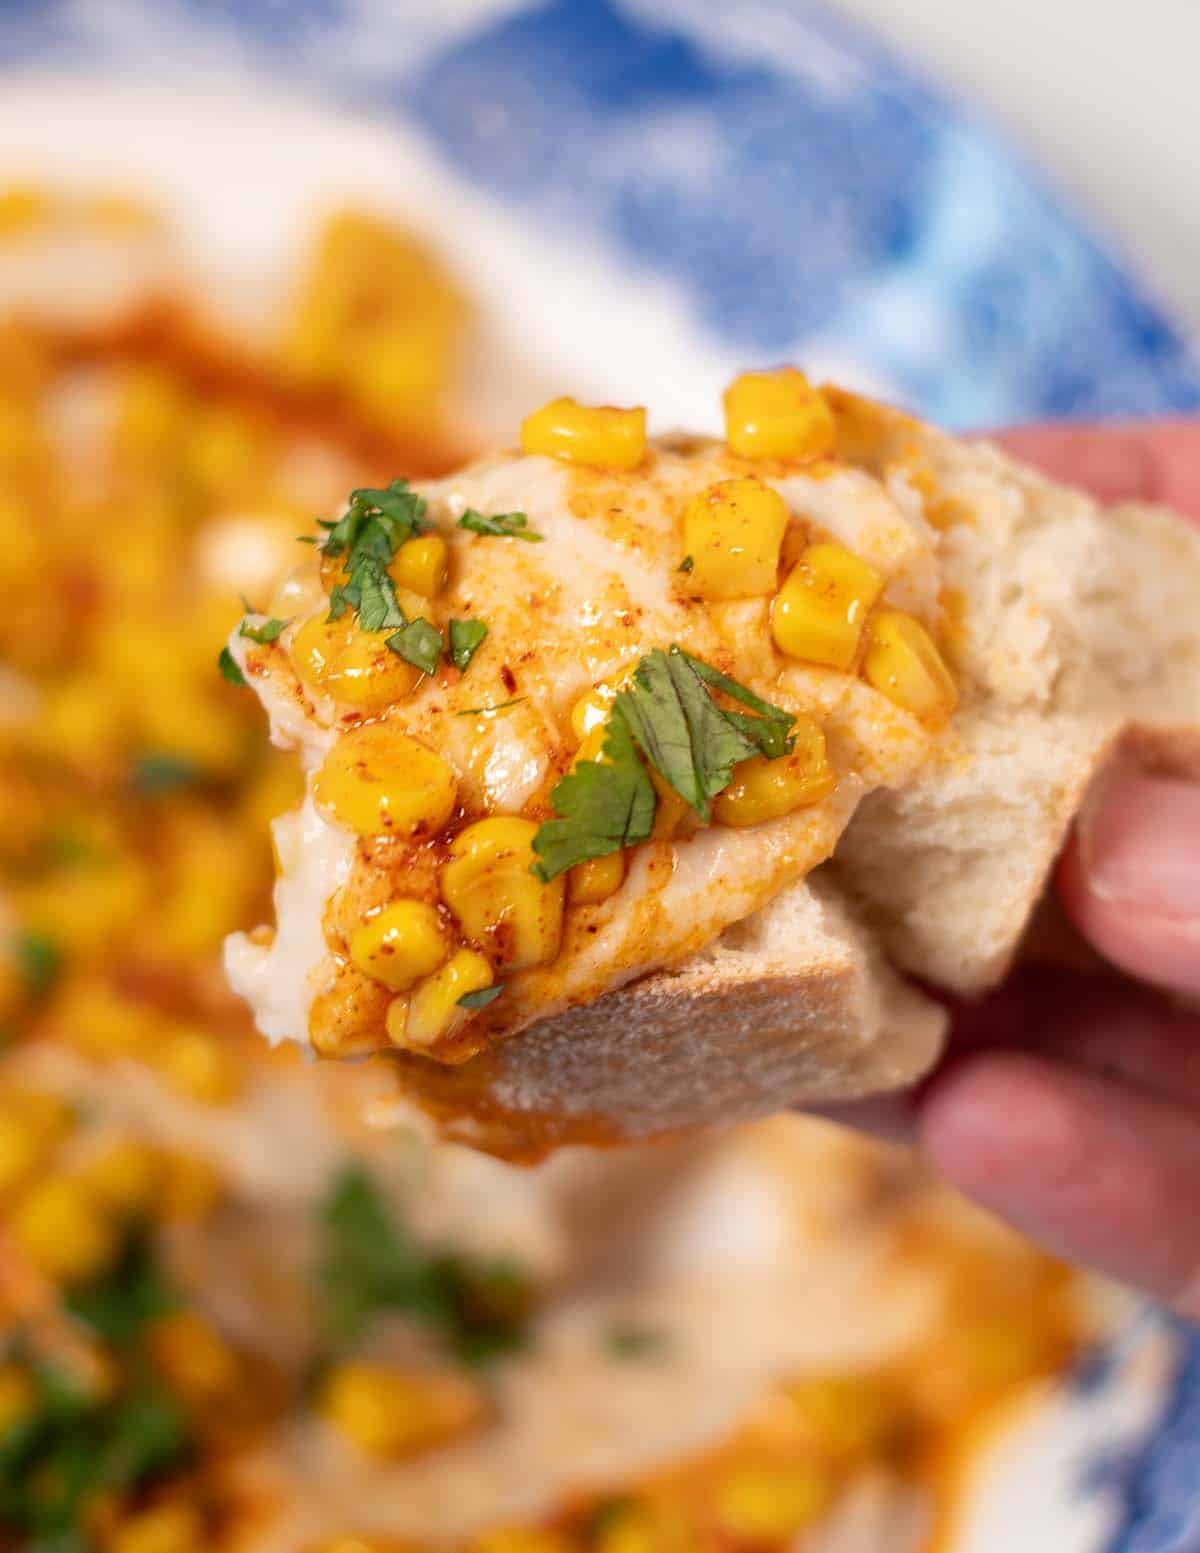
With tortilla chips - the most natural pairing. The white bean base is thick enough to scoop cleanly on a chip without the dip sliding off.
With pita bread or flatbread - torn pita works especially well with the hummus-like white bean base.
With vegetable sticks - cucumber, carrot, celery, and bell pepper all work. The dip is substantial enough to make a plate of vegetables a genuinely filling snack.
As a bowl topping - a large spoonful over a grain bowl or rice bowl in place of hummus or any other creamy element.
As a sandwich spread - spread generously on bread or a wrap in place of hummus or avocado, with the charred corn and chili oil spooned over.
At a gathering - the layered presentation makes this dip a visual standout on any table. Make the white bean base and chili oil ahead, add the charred corn just before serving.
Storage
White bean base: Stores in an airtight container for up to 4 days. The flavor improves slightly overnight as the garlic mellows into the base.
Charred corn: Stores separately for up to 3 days. Reheat briefly in a hot pan before adding to a freshly spread base, or serve at room temperature.
Chili oil: Stores at room temperature in a sealed jar for up to 1 week. Stir before using as the spices will settle.
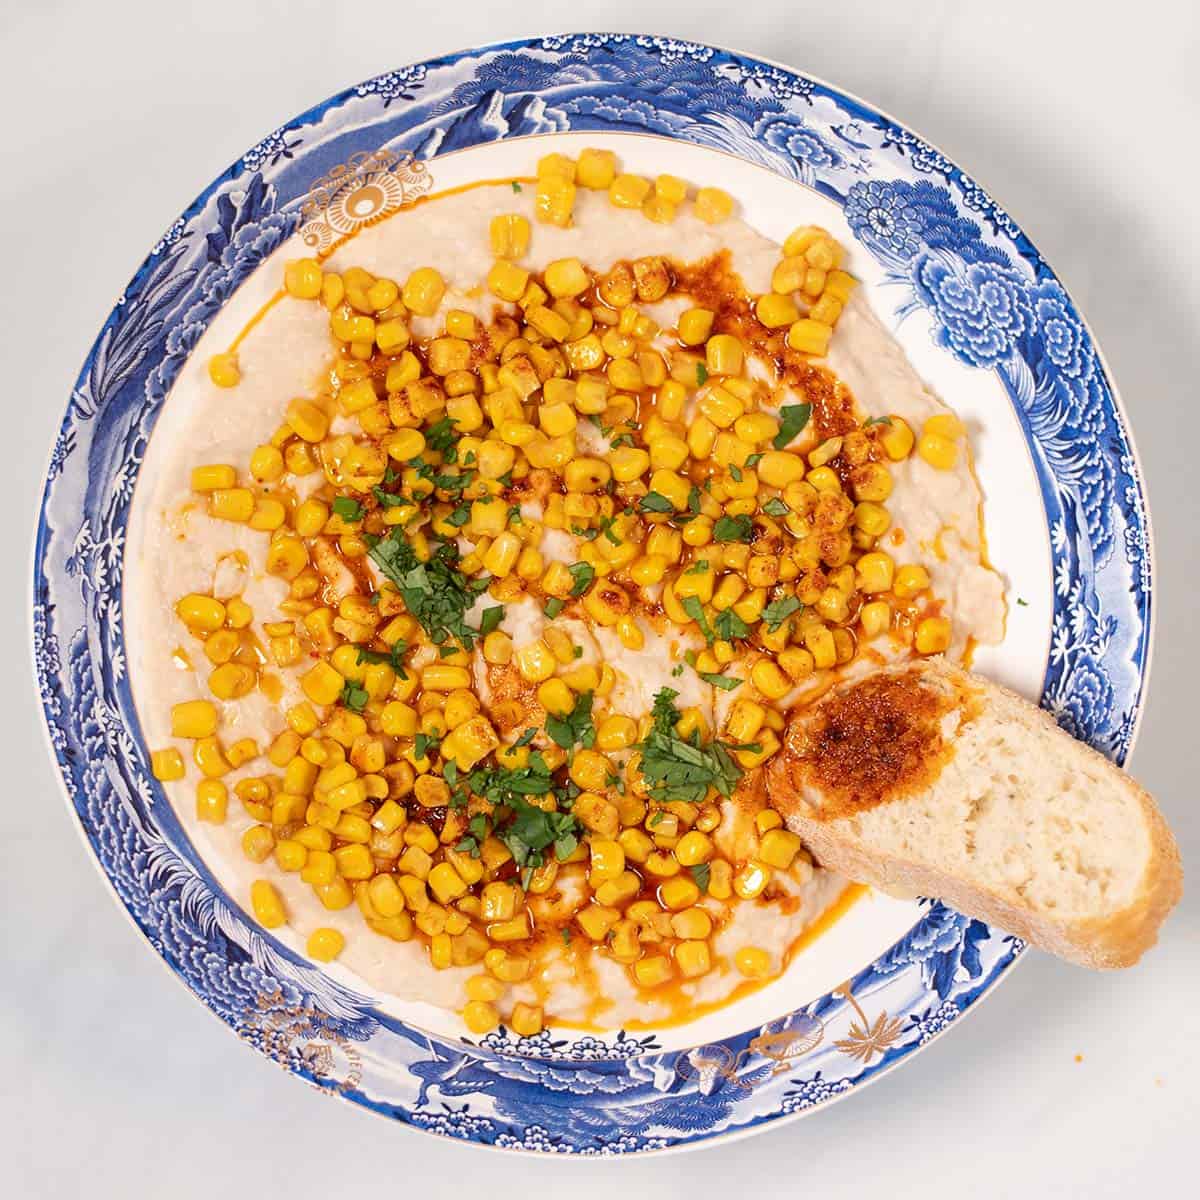
Assembled dip: Best served immediately - the corn softens slightly as it sits on the base and the chili oil absorbs into the surface. For gatherings, keep the components separate and assemble just before serving.
Freezer: Not recommended - the white bean base changes texture on freezing.
Frequently asked questions
Yes - a high-powered blender produces the smoothest result. Start with half the beans and oil, blend until smooth, then add the rest. Add a tablespoon of water if the mixture is too thick to blend.
Yes - mash the beans thoroughly with a fork or potato masher. The result will be slightly less smooth but equally flavorful, with a more textured, rustic character. Some people prefer this.
Frozen corn thawed and patted completely dry produces the best char - the low moisture allows the edges to blister rather than steam. Canned corn works well if patted very dry before cooking. Fresh corn cut from the cob is excellent and produces the most flavor.
The white bean base is typically served at room temperature or slightly chilled. The charred corn and chili oil are added warm. The combination works well - the contrast between the cool base and the warm topping is pleasant. For a fully cold dip, allow the corn to cool before adding.
Yes - the chili oil keeps for up to a week at room temperature and actually improves as the spices infuse further into the oil. Make a large batch and use it throughout the week.
As a dip, it serves 4-6 people generously as a starter or snack. As a component in a bowl or spread, it serves 6-8 as a smaller portion.
More recipes you'll love
- Dense Bean Salad
- Olive Hummus
- Skordalia
- Crack Dip
- White Enchilada Sauce
- 20 Homemade Sauces You'll Use on Everything
Made this High Protein Corn Dip? Leave a comment below and rate the recipe - it helps more people find it. Tag me on Instagram or Facebook with a photo. Florian.

High Protein Corn Dip (Vegan, No Dairy, 15 Minutes)
A smooth, protein-rich white bean base topped with pan-charred corn and a homemade smoked paprika chili oil. No dairy, no Greek yogurt, completely plant-based. 15 minutes and visually striking enough to anchor any table.
Ingredients
For the white bean base:
- 2 × 15 oz cans white beans, drained and rinsed
- ¼ cup olive oil
- 1 lemon, juiced
- 3 cloves garlic, pressed
- Salt and pepper to taste
For the charred corn:
- ¾ cup corn kernels, cooked and drained (frozen thawed, or canned)
- 1 tablespoon olive oil
- Salt and pepper to taste
For the chili oil:
- 3 tablespoons olive oil
- 1 teaspoon chili flakes
- 2 teaspoons smoked paprika
- ½ teaspoon garlic powder
- Salt and pepper to taste
Instructions
- Drain and rinse both cans of white beans thoroughly. In a food processor, blend the white beans with the olive oil, lemon juice, pressed garlic, salt, and pepper until smooth and creamy. Taste and adjust seasoning — the base should be well seasoned and slightly lemony. Transfer to a serving bowl and spread into an even layer.
- Heat 1 tablespoon of olive oil in a skillet over high heat until shimmering. Add the corn kernels in a single layer and cook without stirring for 2 minutes until the edges begin to char. Stir once and cook for a further 1–2 minutes until golden and blistered. Season with salt and pepper. Remove from the heat.
- In a small saucepan combine the 3 tablespoons of olive oil, chili flakes, smoked paprika, and garlic powder. Warm over low-medium heat for 60–90 seconds, stirring, until the oil turns deep red and fragrant and the spices have bloomed. Remove from the heat immediately.
- Spoon the charred corn over the white bean base. Drizzle the chili oil generously over everything. Serve immediately with tortilla chips, pita, or vegetable sticks.
Notes
- Pat the corn dry: Wet corn steams rather than chars. Pat thoroughly dry before it goes into the hot pan for the best color and flavor.
- High heat for the corn: The skillet needs to be properly hot before the corn goes in. Lower heat steams rather than chars.
- Don't burn the chili oil: Start the oil cold with the spices and warm gently together. It should sizzle and bloom — not smoke. Remove from heat as soon as it turns deep red.
- Smoked paprika: Use smoked, not sweet — the smokiness is the flavor that defines the chili oil.
- No food processor: Mash the beans thoroughly with a fork or potato masher for a more textured, rustic base. Equally good.
- Make ahead: The white bean base and chili oil both store well. Make them ahead and add the charred corn fresh just before serving.
- Chili oil: Stores at room temperature for up to 1 week. Use it on pasta, bowls, and roasted vegetables throughout the week.
- White bean base: Stores for up to 4 days refrigerated. Flavor improves slightly overnight.
Freezer: Not recommended for the assembled dip.
Nutrition Information:
Yield: 4 Serving Size: ½ cupAmount Per Serving: Calories: 359Total Fat: 16gSaturated Fat: 4gUnsaturated Fat: 9gSodium: 44mgCarbohydrates: 43gFiber: 8gSugar: 4gProtein: 18g